Create a DIY Spooky Watercolor Card: Quick Halloween Tutorial
As Halloween approaches, it's the perfect time to get into the spirit with some DIY crafts. Today, we’re excited to guide you through crafting a charming watercolor Halloween greeting card using the versatile Benicci Watercolor Brush Pens Set of 26. This tutorial is tailored for beginner and intermediate artists looking to add a personal touch to their festive celebrations. So grab your brush pens, and let's create some boo-tiful art!
🧑🎨 Level: Beginner
🕑 Estimated time: 20 min
Materials:
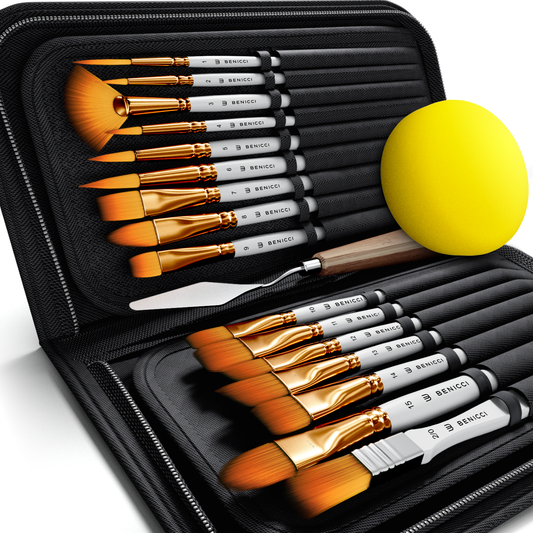
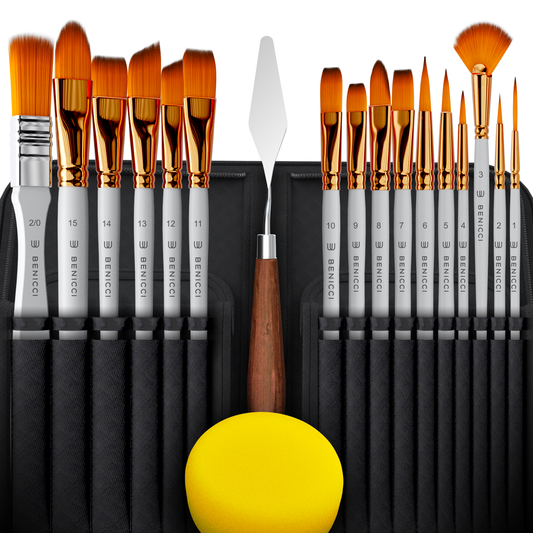
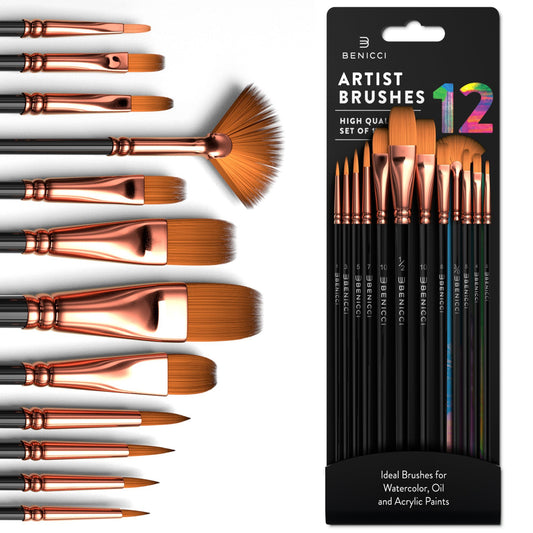
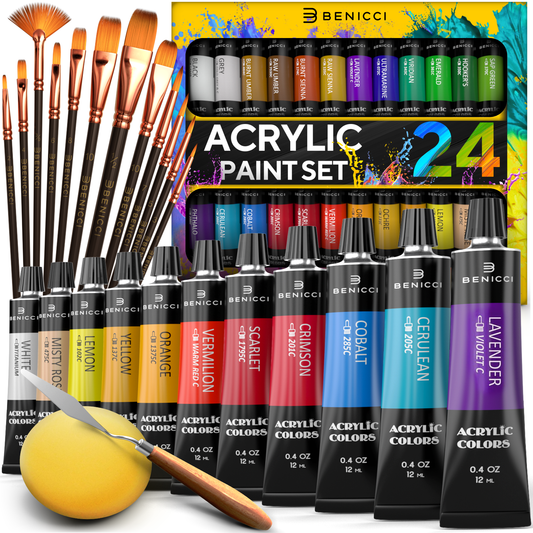
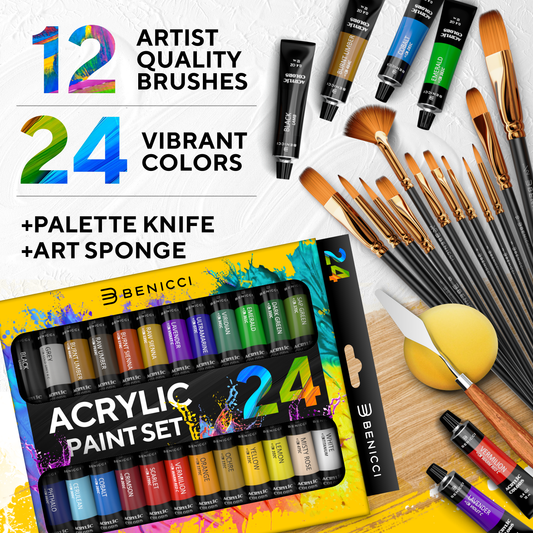
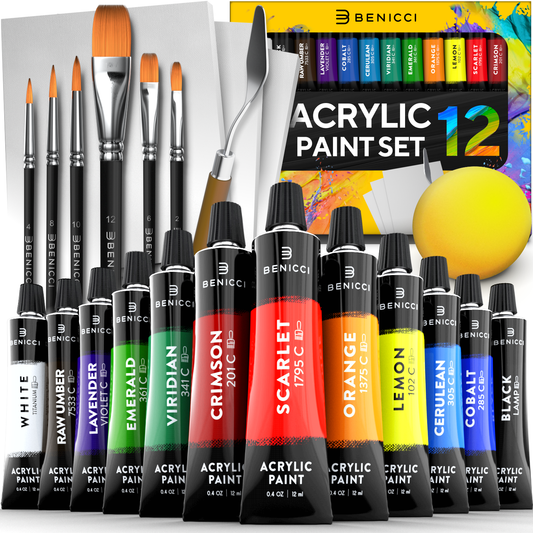
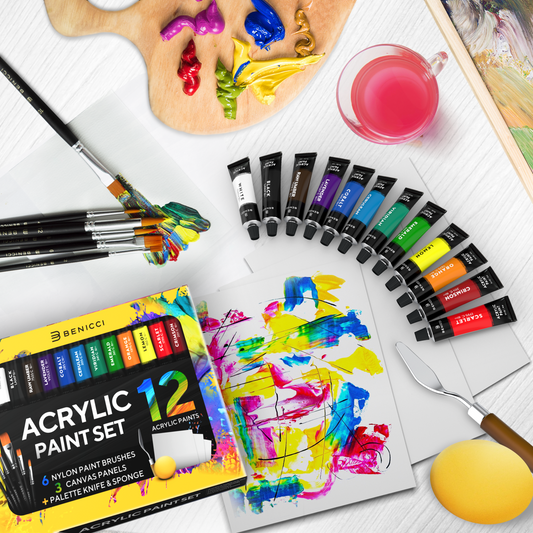
- Benicci Watercolor Brush Pens Set of 26
- Watercolor paper
- Pencil and eraser for sketching
- Refillable Brush Pen with water (included in the Benicci set)
- A glass of water
- Optional: Envelope for gifting
Step 1: Sketching Your Design

Begin by lightly sketching your Halloween scene on the watercolor paper. Draw two pumpkins and the word "BOO!" along with some festive flags and autumn leaves to set the scene. Remember, the lighter the pencil marks, the easier they will be to conceal with your watercolor brush pens.
☝️Quick Tip: To prevent warping, tape down your watercolor paper on a flat surface.
Step 2: Painting the Pumpkins

Choose your orange and yellow brush pens to color the pumpkins. Start with a light wash of orange, adding depth and shading with the yellow and darker orange tones. Use the water brush pen to blend the colors for a smooth gradient effect.
Step 3: Lettering Magic

For the "BOO!" lettering, opt for a dark gray or black pen. Fill in the letters with a solid color, then use the water brush to give it a slight blur at the edges, creating a spooky shadow effect.
Step 4: Festive Flags

Now, it's time to add color to your flags. Alternate between orange and gray for a Halloween vibe. Use the fine tip of the brush pen for precise edges. Feel free to experiment with the flags' patterns.
Step 5: Hearty Details

Scatter some orange hearts around your design to add a playful touch. Again, use the water brush to blend the edges, giving a soft, diffused look.
Step 6: Black Brush Pen Details
With a black brush pen, go over the finer details such as the outlines of the pumpkins, the stems, and the facial features. Add any final touches to ensure your card looks polished and vibrant.
☝️Quick Tip: Slip the finished card into an envelope for a delightful surprise to the recipient.

Creating a Halloween greeting card with Benicci Watercolor Brush Pens is not only fun but also a fantastic way to personalize your festive greetings. The versatility of the pens allows for both broad washes and fine details, making them ideal for artists of all levels. Don't forget to check out our short video tutorial for more tips and tricks on creating this spooky masterpiece:
Celebrate this Halloween with a touch of art and share your creations with us on @benicciart Instagram! Happy Haunting and Happy Painting!