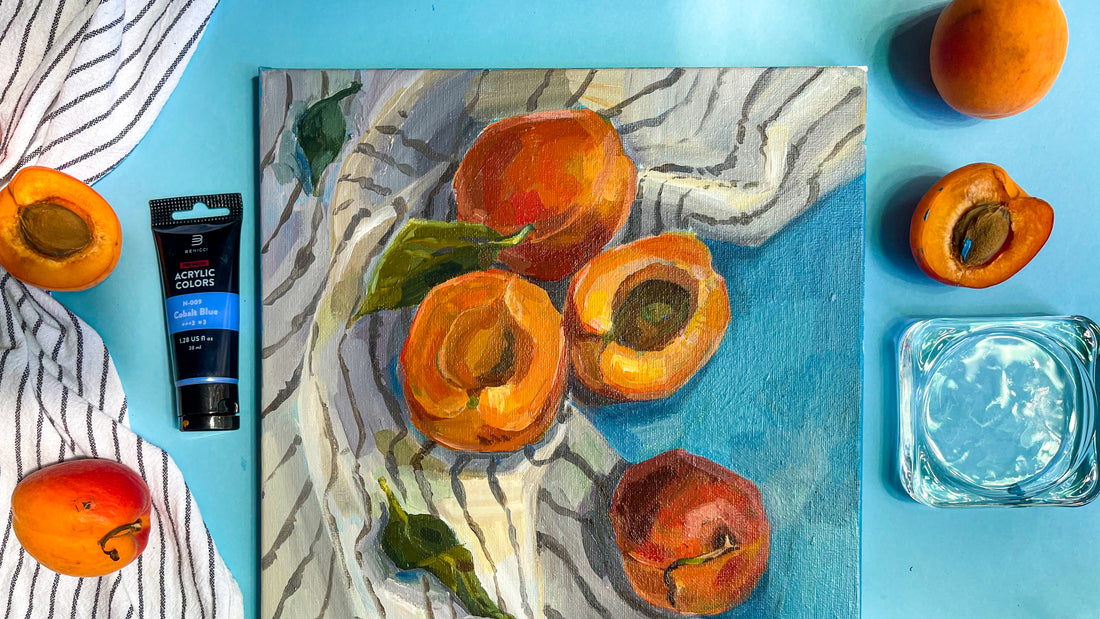
How To Paint Still Life With Peaches: Step-by-step Tutorial
Share
Do you ever find yourself longing to recreate the juicy allure of a peach? The play of light on their soft, velvety skin? Or perhaps you’ve been captivated by the timeless still lifes of the great Pierre-Auguste Renoir? If so, you’re in for a treat. Today, we're diving deep into the rich colors and vibrant vibes of a peachy masterpiece.
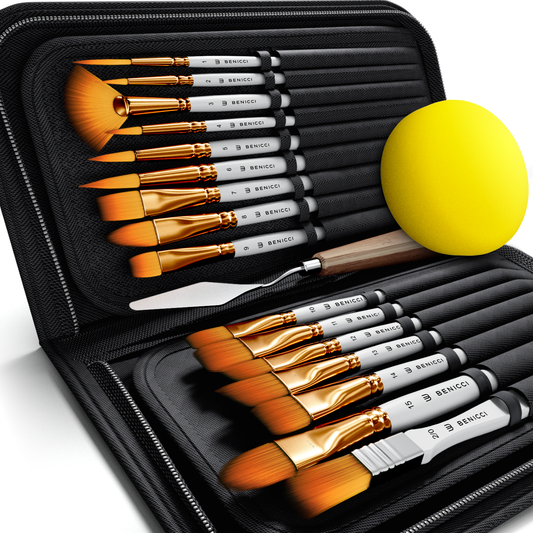
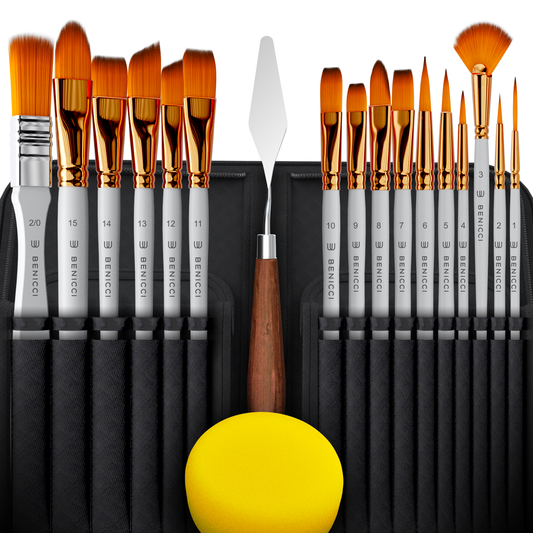
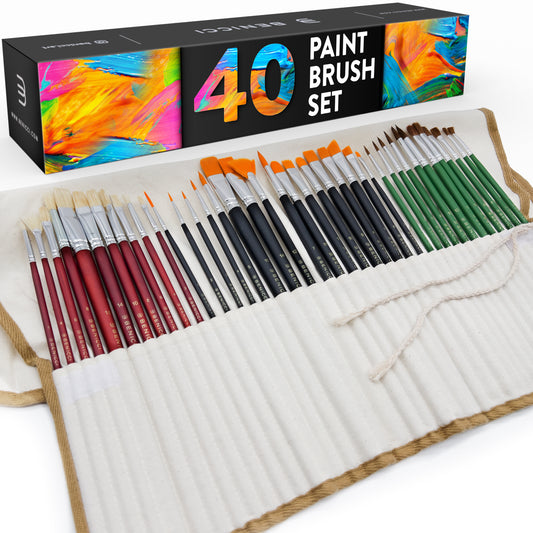
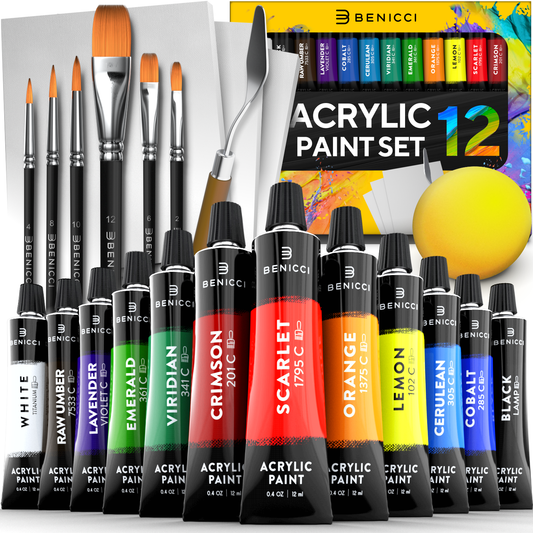
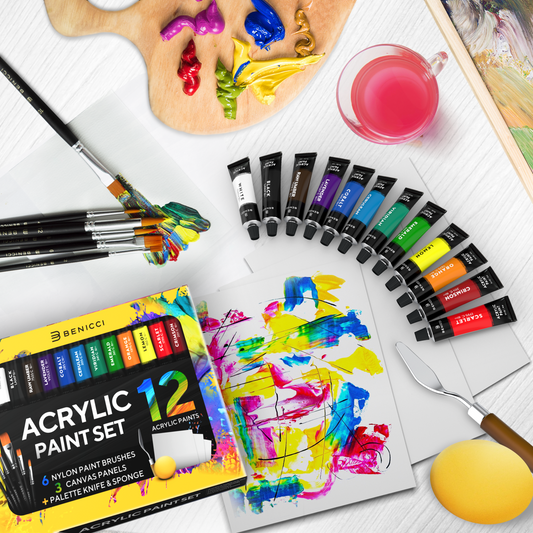
With Benicci's 24-color Acrylic Set and our trusty 12-piece Brush Set, this tutorial promises a burst of creativity and a harvest of artistry. So, let's get those brushes ready!

🧑🎨 Level: Intermediate
🕑 Estimated time: 30 min
Materials:
- Acrylic paints in blue, orange, yellow, brown, white and gray
- Canvas (size of your choice)
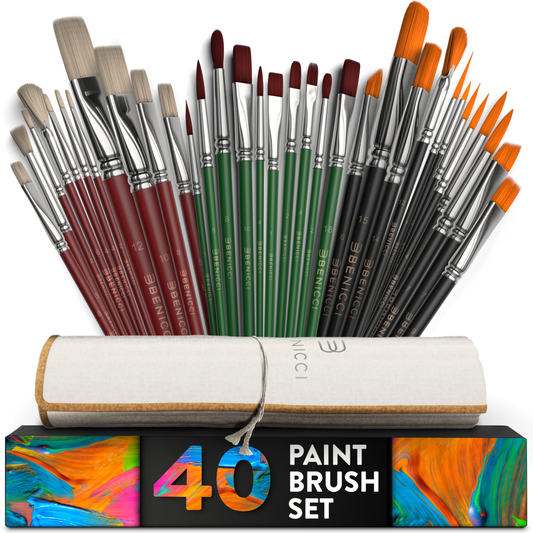
- Paintbrushes (flat and round in various sizes)
- Cup of water
- Real peaches & any fabric for inspiration
Step 1: Prepare the Base

With your big flat brush (number 1/2), dip into the deep blue shade from your Benicci acrylic set. Lay down a bold and rich blue background. This deep blue serves as the canvas for the beautiful contrasts we’ll be painting on top.
Step 2: Sketching Elements with Colors

Using your medium flat brush (number 10), begin to paint the rough outlines.
- Start with the round shapes of the peaches, pitted and not. Acrylic paints allow for a rich layering experience. When painting the peaches, start with a lighter shade of orange. As you progress, add richer tones and layer them to achieve that luscious depth and dimension.
- Then, go to wavy drapery of the white tablecloth. When working on that, instead of using pure white, try a blend of white with a tiny touch of gray or blue from the background. This will make the cloth appear more naturally integrated into the scene.
- Add a hint of the dark green peach tree leaves. It can make your painting pop and balance the composition.
Remember, at this stage, we’re looking for rough outlines, not perfection.
Step 3: Light & Shadow Play

Let’s bring our peaches to life! Using a mix of orange and brown, add shadows to the bottom and sides of each peach. Then, with pure white, highlight the top portions where the light naturally hits. Similarly, create areas of shadow and light on the blue background and the fabric.
Step 4: Drapery Painting

Turn your attention to the fabric. With your smaller brushes (numbers 4 & 5), dab into white and gray to create folds, texture, and depth. This will give the cloth its soft, flowing appearance, adding realness to the abstract.
Step 5: Stripes Galore

With a steady hand and your thin round brush (number 2), paint thin gray stripes on the fabric. This will add a touch of intricacy and depth to the white tablecloth.
☝️ Pro tip: When painting the fabric's drapery and the gray stripes, consider using the dry brush technique. Lightly dip your brush into paint, wipe off the excess, and then drag the brush over the canvas. This will create a textured, soft look, perfect for fabric detailing.
Step 6: The Final Flourish

Use your smallest brushes for detailing the crochet elements of the fabric. Dip into the deepest greens and add richer details to the peach tree leaves. Lastly, highlight the peaches with a tinge of white for that juicy, fresh-off-the-tree appearance.
☝️ Quick tip: The charm of this painting lies in its slightly abstract style. Don’t get too caught up in details. Stay loose, especially during the initial stages, and let the brush do its magic. For reference, look on Renoir's "Peaches (Les Pêches)" and its impressionistic vibe.
Voilà! You’ve just created a mouth-watering masterpiece reminiscent of the great Renoir. Such bright, vibrant pieces are perfect to liven up any space! Remember, art is a journey. With each stroke, each color mix, you're growing, learning, and expressing.
Hungry for more? Dive deeper into the world of acrylic painting with our detailed video tutorial on how to paint this peachy scene. Happy painting!
Do you like this tutorial? 👇 Leave a comment below to inspire other artists.




1 comment
Oh, this takes me right back to those sun-soaked Georgia summers of my childhood!🥰🥰 Such a delightful tutorial, truly heartwarming to see