How to Achieve a Watercolor Effect with Acrylics: Tips & Hacks
As artists, we're forever on a quest to find innovative methods to express our creativity. At Benicci, we understand that thrill, and today, we've got an enticing twist for you! Ever imagined merging the vibrancy of acrylics with the fluid elegance of watercolors? With Benicci's premium Acrylic Paint Set, this dream becomes a reality. Dive into this guide and discover the magic of blending the vibrancy of acrylics with the fluidity of watercolors on a real-life example. Let's embark on a journey that fuses two art forms, crafting masterpieces that tell tales of both.
🧑🎨 Level: All levels
🕑 Estimated time: 30 min
Materials:
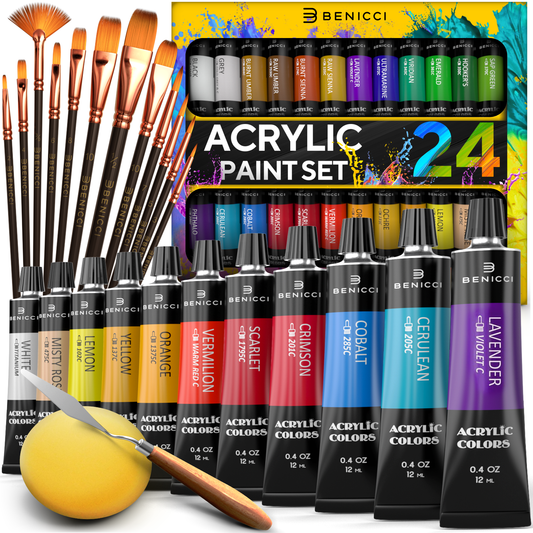
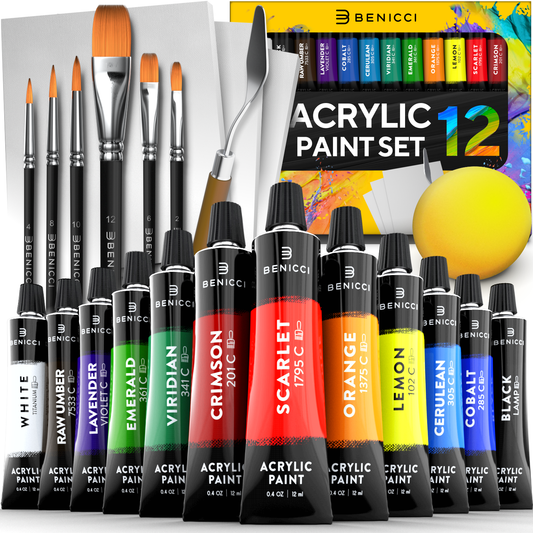
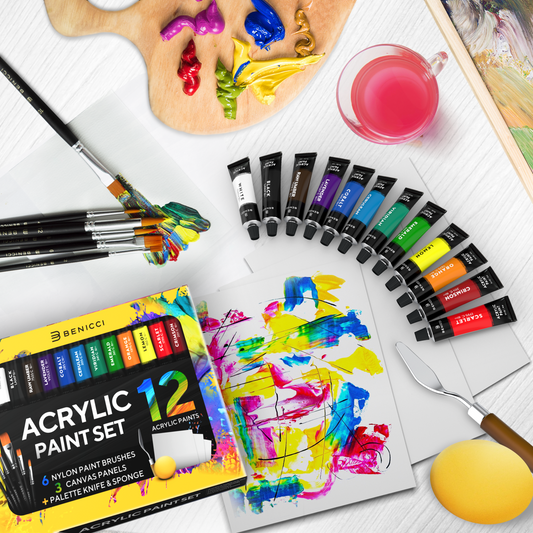
- Benicci Acrylic Paint Set of 24
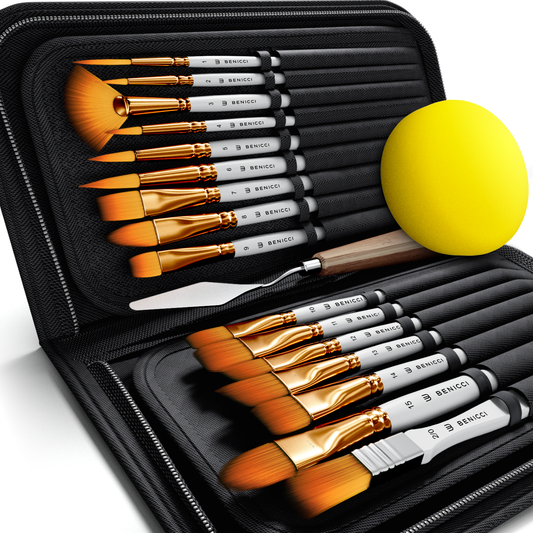
- Benicci Paint Brush Set of 12
- Watercolor paper / Paper pad
- A bowl of water
- Palette (for mixing)
Marrying Acrylics and Watercolors: The Technique Unveiled

Acrylic paints can be used in a manner similar to watercolors, though there are some key differences in behavior and permanence between the two mediums. Here's how you can use acrylics to achieve a watercolor-like effect:
✴︎ Tip 1: Dilution
Thin your acrylic paint with a lot of water to make it more translucent. Just like with watercolors, the more water you add, the lighter the color will appear on the paper.
✴︎ Tip 2: Paper Selection
Ideally, you'll want to use watercolor paper because it can handle the wetness of the diluted paint. However, other heavy-weight papers can also work. Remember that acrylics, even when diluted, are heavier than watercolors, so a robust paper is essential.
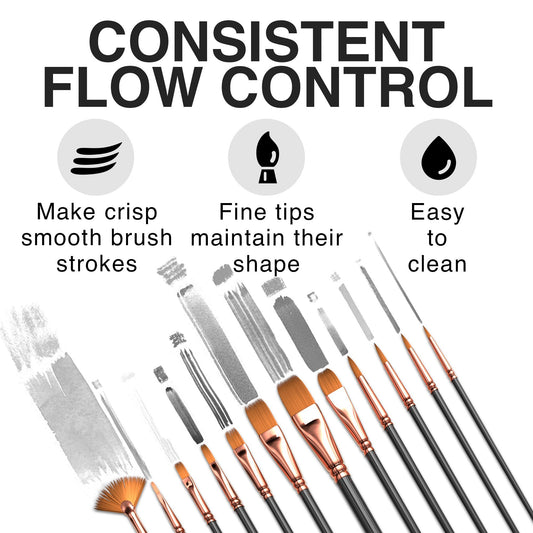
✴︎ Tip 3: Brush Selection
Use soft brushes, similar to those you would use for watercolor painting. These brushes allow for a smooth application and help you achieve those wash effects.
✴︎ Tip 4: Wash Techniques
Just like with watercolors, you can use techniques such as wet-on-wet (applying wet paint to a wet surface) or wet-on-dry (applying wet paint to a dry surface).
✴︎ Tip 5: Layering
Acrylics dry quickly and permanently. Unlike watercolors, you cannot "lift" dried acrylics easily. This means that layering colors should be done with care. Once a layer dries, you can't reactivate it.
✴︎ Tip 6: Mixing
You can mix colors just like you would with watercolors. However, remember that acrylics are more opaque by nature, so it's essential to dilute them properly to achieve transparent mixes.
✴︎ Tip 7: Permanent When Dry
One of the main differences between acrylics and watercolors is that acrylics are permanent when dry. This means that they won't reactivate or lift when you add another layer on top, which can be both an advantage (for layering) and a disadvantage (if you make a mistake).
Why Opt for This Method?

In the expansive world of art, mediums often remain confined within their traditional boundaries. However, every so often, artists stumble upon techniques that push these boundaries, fusing elements to birth something truly mesmerizing. Why let the lack of specific supplies hinder your artistic vision? Here're main advantages of using acrylic-watercolor technique:
- Versatility: Mastering this technique allows artists to expand their repertoire without buying additional supplies.
- Economical: Instead of investing in a new set of watercolor paints, utilize the acrylics you already have.
- Layering Mastery: Unlike traditional watercolors, acrylics, even when diluted, can provide a more opaque layering effect, allowing for more depth in paintings.
- Experimentation: This technique opens the door to a world of experimental art, mixing the principles of both acrylics and watercolors.
- Consistency in Supplies: By using acrylics for both regular and watercolor-style paintings, you maintain consistency in your art supplies, which can be especially helpful during travels or plein air sessions.
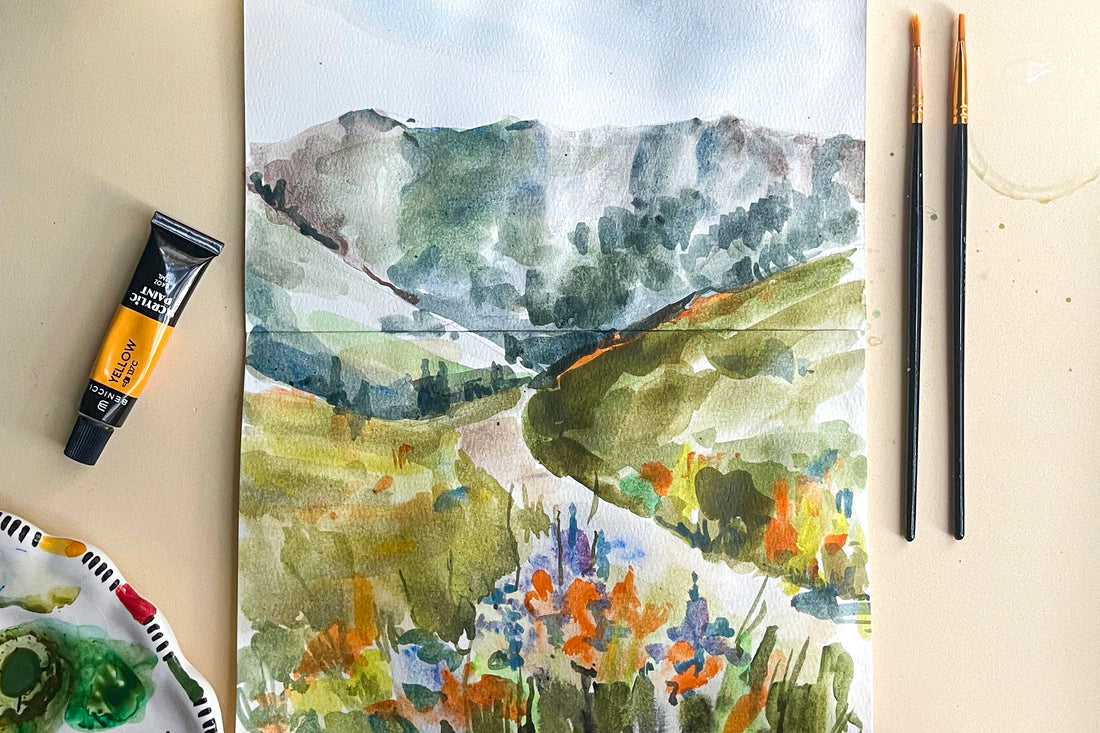
Diving into Practice: Crafting an Watercolor Landscape with Benicci Acrylics

Now, let's put this technique into practice. Let's try to paint the stunning watercolor landscape! We'll guide you through a step-by-step process to help you recreate a similar one using our acrylic-watercolor blend technique.
Step 1

Setting the Scene: Begin by visualizing the broad sections of your landscape – the sky, distant mountains, mid-ground foliage, and vibrant foreground. This mental sketch will serve as a roadmap for your artwork. Use your pencil if you are a beginner to outline main elements. Keep your pencil strokes light. This makes them easier to hide or adjust during the painting process.
After that, prepare your acrylics, glass of water, and a palette for mixing all together.
☝️Quick Tip: Palette Prepping: having a range of pre-mixed shades on hand can drastically smoothen your painting journey.
Step 2

Mountains: Choose muted greens and grays. Add a touch of blue for distant mountains. Dilute your mix slightly more than the sky, giving those mountains a misty feel. Use sweeping strokes from the base to the peak, letting the colors blend naturally.
Step 3
Sky: Opt for a gentle mix of blue and white acrylics, diluting to get the light, airy texture of the sky. Using a broad brush from the Benicci Paint Brush Set, apply this mix using the wet-on-wet technique to create a seamless sky backdrop.
Step 4

Foliage & Fields: This is where the vibrancy kicks in. Using richer greens, yellows, and a touch of orange, recreate the mid-ground foliage. Remember, the key here is to let the colors dance with each other, just like in nature. Apply using a combination of wet-on-wet and wet-on-dry techniques, allowing certain areas to pop while others blend.
☝️Quick Tip: Cleanliness is Key! Acrylics, once dried on brushes, can be stubborn. Ensure a prompt rinse after each use.
Step 5

Foreground Flourish: The closest to the viewer, this section needs detailed attention. Use less diluted acrylics to capture the intricacies of the flowers and shrubs. Play with purples, oranges, and blues to bring those wildflowers to life.
There we have it!

Embracing the acrylic-watercolor technique not only broadens your artistic horizons but also offers a fresh perspective on how materials can be utilized. This method, with its blend of precision and spontaneity, promises an enriching experience for artists of all levels.
Don't just take our word for it. Witness this mesmerizing technique in action! For a visual insight into crafting such a masterpiece, be sure to watch our short video tutorial. Happy painting, and as always, let creativity be your guide!