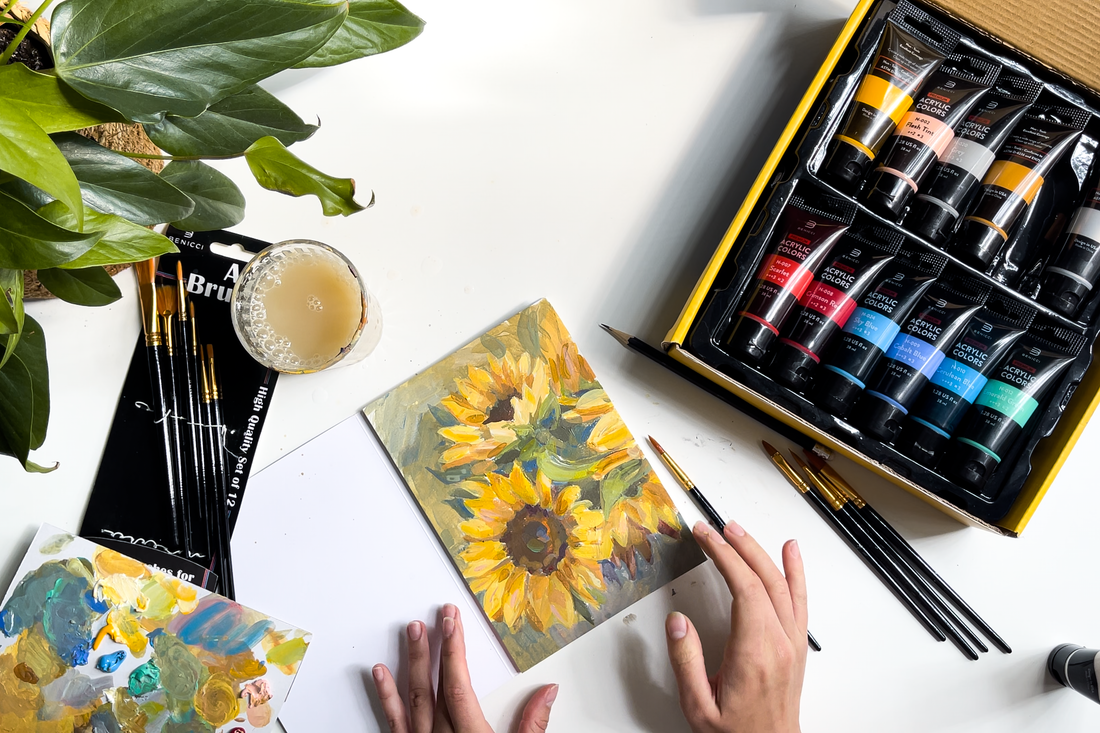
How To Paint Sunflowers with Acrylic Paints: Step-by-step Tutorial
Share
Looking to add a splash of sunshine to your art collection? Dive into our step-by-step sunflowers painting tutorial using the Benicci Acrylic Paint Set! With the vibrant, high-quality pigments of Benicci paints, creating sun-kissed sunflowers has never been more fun or accessible. Explore our easy guide with bonus — detailed video of painting process to help you on every step!
🧑🎨 Level: Intermediate
🕑 Estimated time: 30 min
Materials:
- Acrylic paints in yellow, brown, green, white, and blue
- Canvas / Paper pad (size of your choice)
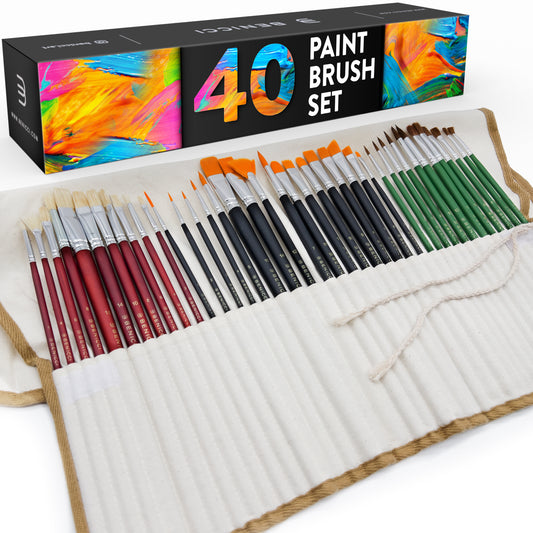
- Paintbrushes (flat and round in various sizes)
- Palette for mixing paints
- Cup of water
Step 1: Sketching

Lightly sketch the sunflowers with a pencil on the canvas or paper to create an outline. Include the petals, centers, and leaves as well as a stem.
Step 2: Prepare the base

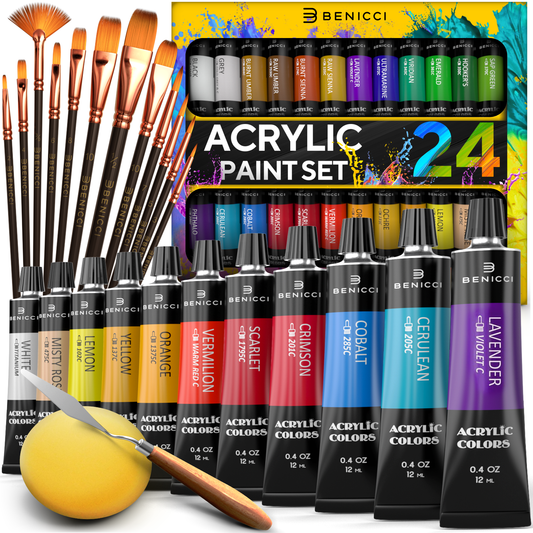
Prepare the main colors for paint mixing. We use vibrant, high-quality pigments from Benicci Acrylic Paint Set of 24 with bigger 1.28 oz / 38 ml tubes. This complete acrylic paint kit comes with 24 pigmented colors, but you can even mix these primary colors together to create more shades close to your style, and don't worry about running out of paint!
For this artwork we picked these base colors for mixing: blues and greens (Emerald Green, Cobalt Blue, Cerulean Blue), reds (Scarlet, Crimson Red, Flesh Tint), yellows (Yellow Ochre, Mid Yellow) and neutral pigments like Titanium White and Silver just for better blending.
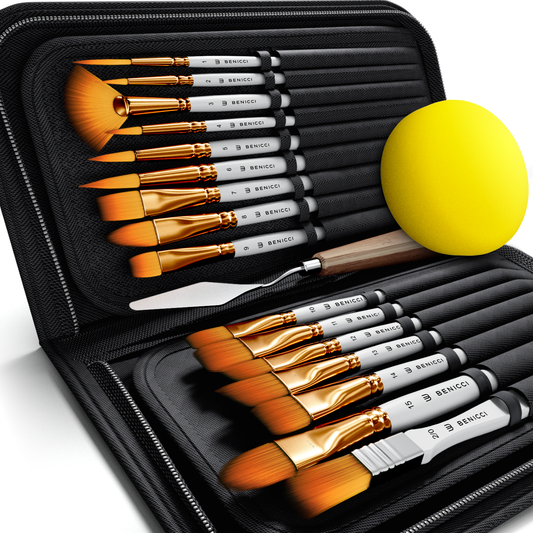
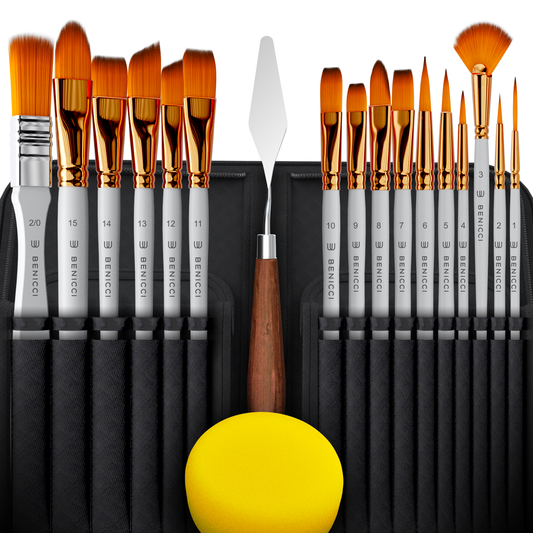
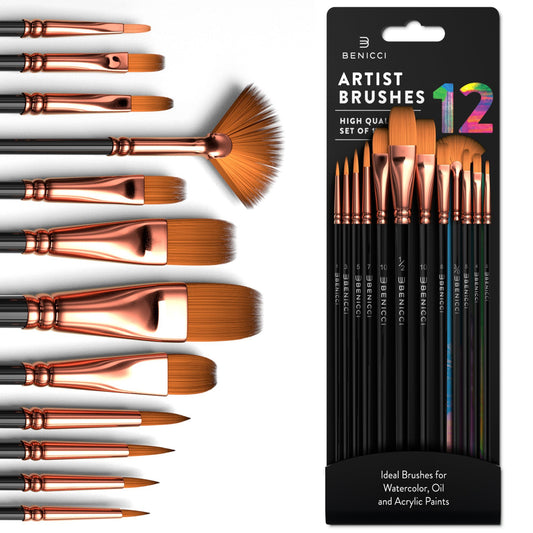
Start with painting the background. Use a large flat brush like №10 from Benicci Paint Brush Set of 12 to paint the background. Mix blues, green and a little grey to get a dirty pastel green and create a blurred field effect on the background or use other colors for your preferred background (a blue sky, for example). Let it dry completely.
Step 3: Paint the sunflower elements

Paint the Petals: Mix yellow and a touch of white to achieve a bright, sunflower-like color. Using a medium-sized flat brush (like №8 from Paint Brush Set 12), begin painting the petals from the center outward.
Paint the Centers: Use a mix of brown, yellow and a little red to paint the center of each flower. Allow it to dry slightly, then dab in lighter brown or yellow with red to add texture and dimension.
Paint the Stems and Leaves: Mix green with a bit of yellow to create a vibrant color for the stems and leaves. Use a round brush (like №10 filbert brush) to paint the stems and leaves, varying the pressure to create natural-looking shapes.
Step 4: Detailing

Add Highlights and Shadows: With a small flat brush (like №4, 5), add highlights to the petals using a lighter yellow or white and shadows using a darker yellow or a touch of orange. This will give the flowers more depth.
Add Details: Use a fine round brush (like №3) to add intricate details like veining on the leaves or additional texture to the center of the flowers.
Final Touches: Revisit any areas that may need adjustment, like intensifying colors or refining shapes.
☝️ Quick tip: Don't be afraid to finish the painting in a slightly expressionistic style without strong realism. For inspiration, look at Van Gogh's "Sunflowers" and how he uses the impasto technique to create dynamism and larger, thicker brushstrokes.



1 comment
just stumbled upon this post and absolutely love it! i’m an american artist and i’ve always had a soft spot for painting florals, especially in an abstract way. one simple tip i’ve found with acrylics: try using a palette knife for layering colors, it gives a unique texture and blends colors in a beautiful, unexpected way. keep up the great work on this blog! 😊😊