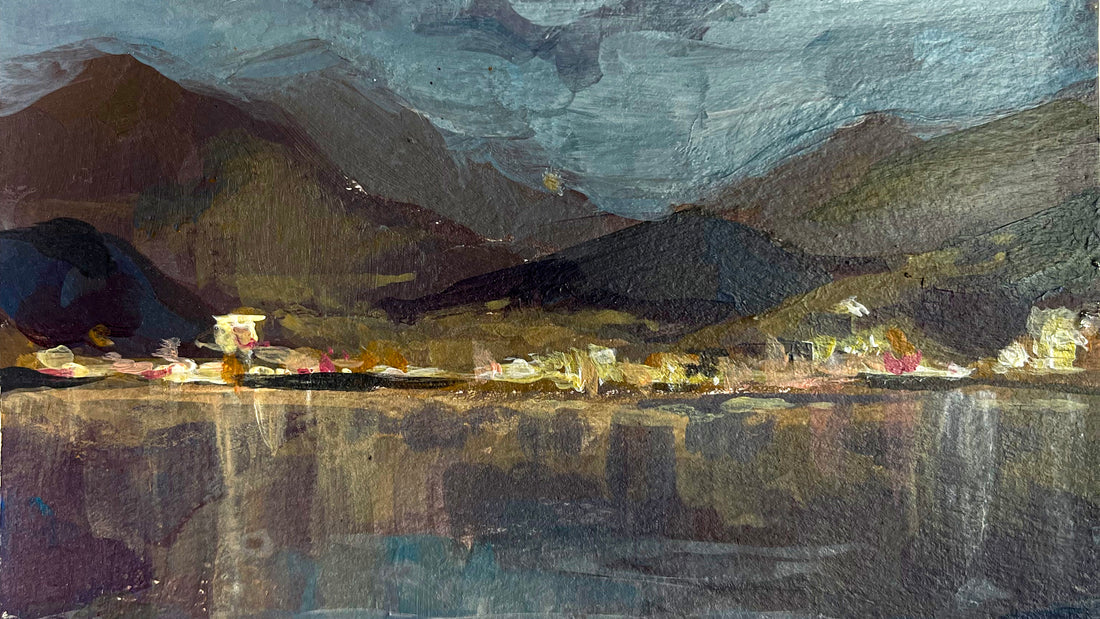
How To Paint Evening Seascape with Acrylics: Step-by-step Tutorial
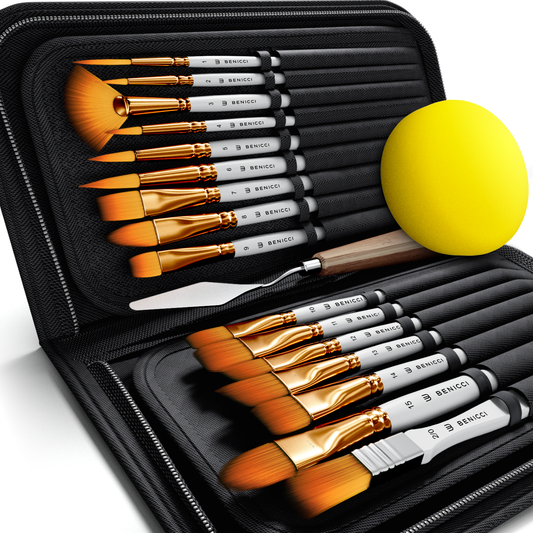
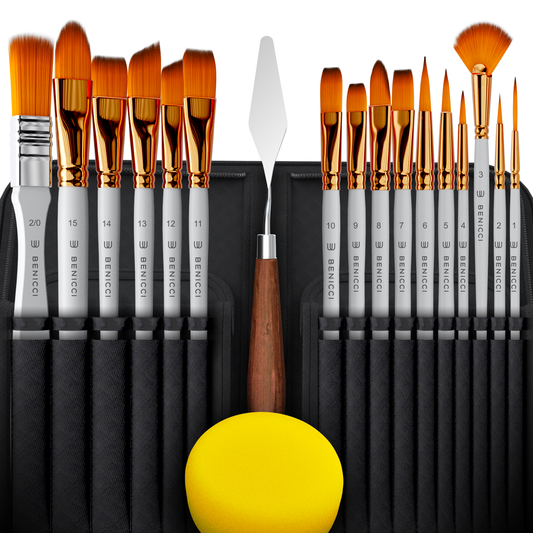
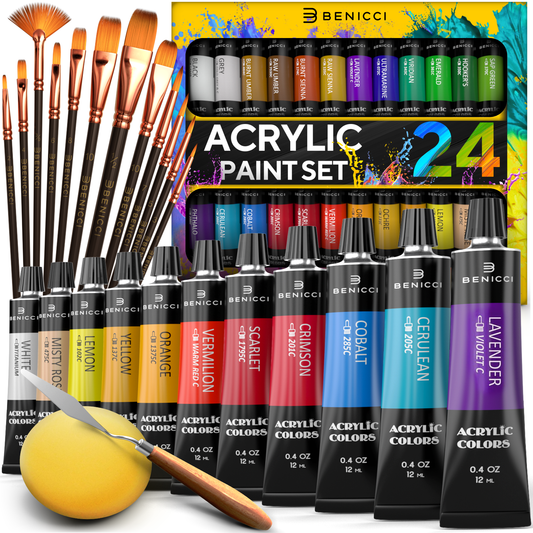
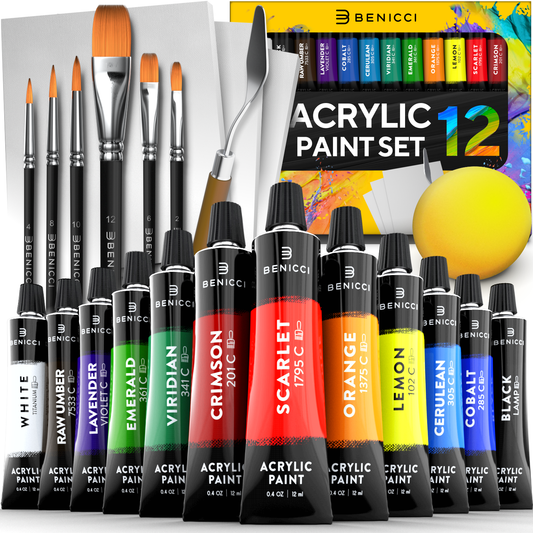
Dive deep into the enigmatic allure of nighttime seascapes with this step-by-step tutorial! Armed with Benicci Acrylic Paint Set of 24 and a 12-piece Brush Set, you're about to paint an enchanting evening canvas that's bathed in a twilight glow. If you've ever stood by the shore and marveled at the distant city lights reflecting off the serene waters under the watchful gaze of silent mountains, then this is your chance to capture that magic on paper. Let's get started!
🧑🎨 Level: Intermediate
🕑 Estimated time: 30 min
Materials:
- Acrylic paints in blue, brown, grey, purple, white and yellow
- Canvas / Paper pad (size of your choice)
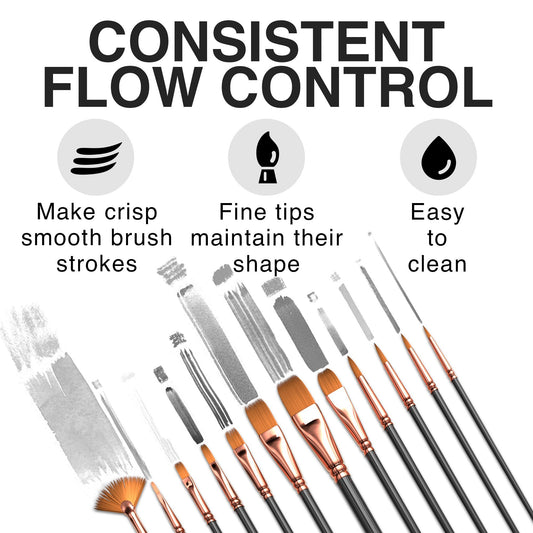
- Paintbrushes (flat and round in various sizes)
- Cup of water
Step 1: Quick Pencil Sketch

Begin by lightly sketching your scene using a pencil. Imagine the horizon line where the sea meets the sky. Draw the distant silhouette of the city, just beneath the mountains. Outline the sea in the foreground, marking a subtle line where the city's reflections will shimmer later. Remember, it doesn't need to be perfect, this is just a guide!
Step 2: Mixing Colors

Before delving into the actual painting, create your desired palette. We use vibrant, high-quality colors from Benicci Acrylic Paint Set of 24 (1.28 oz) with bigger tubes.
Night Sky and the Sea: Combine blue-gray and a hint of purple for that deep evening hue.
Mountains: Mix gray, brown, and blue for a subdued yet visible mountain range.
City & Reflections: Keep aside some white and yellow for the city lights.
Step 3: Painting the Sky, Mountains, and Water

Using your medium flat brush, like №10 from Benicci's Paint Brush Set of 12:
- Start with the sky, moving from the top of your paper downwards. Apply your night sky mixture generously, letting the color lighten as it nears the horizon.
- As you approach the city's silhouette, switch to your mountains' color, painting the majestic heights behind the city.
- For the water, use a mixture of blue and gray, ensuring the shade is a tad lighter near the horizon. This sets the stage for the reflections.
Step 4: Light Detailing of the City Silhouette

Switch to your small round brush (№ 5). Delicately dab on white and yellow for the city lights, giving a sketchy, almost distant appearance. Below the city, mirror some of these lights onto the water to create a soft reflection.
Step 5: Accent Painting and Adding Various Details

Using both brushes, as required:
- Add shadows to the water with darker shades of blue, creating depth.
- Enhance highlights, especially around the city's lights and their reflections.
- Feel free to add other details such as a lone boat, distant stars, or soft clouds to personalize your masterpiece.
☝️ Quick tip: When painting reflections, always remember they're usually softer and more diffused than the original light source. For a more textured look, try dry brushing in some areas, especially the mountains.
There you have it, a dreamy evening seascape, brought to life with your own hands! For a more visual guide, don't forget to watch our video tutorial on how to paint this enchanting scene:
Do you like this tutorial? 👇 Leave a comment below to inspire other artists.