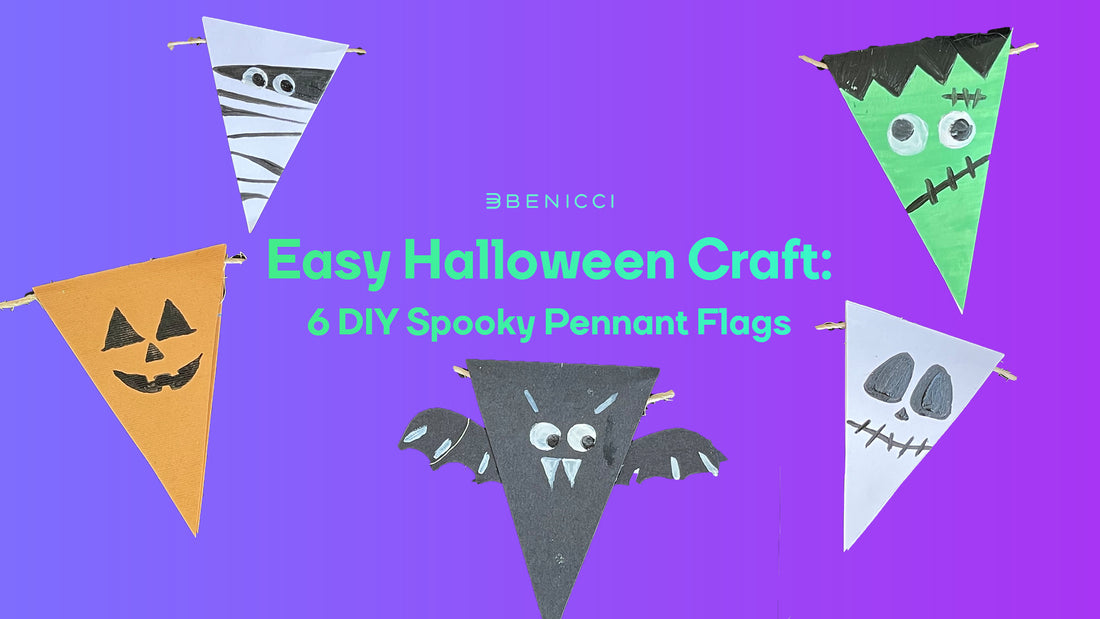
Craft a Spooky Pennant Garland Step-by-step! Easy DIY Halloween Decor
Gather around, crafty spirits and creative souls, as we embark on a bewitching journey to transform your space into a Halloween haven. Whether you're a beginner artist or a seasoned crafter, our guide is designed to weave a little magic into your home, classroom, or Halloween party.
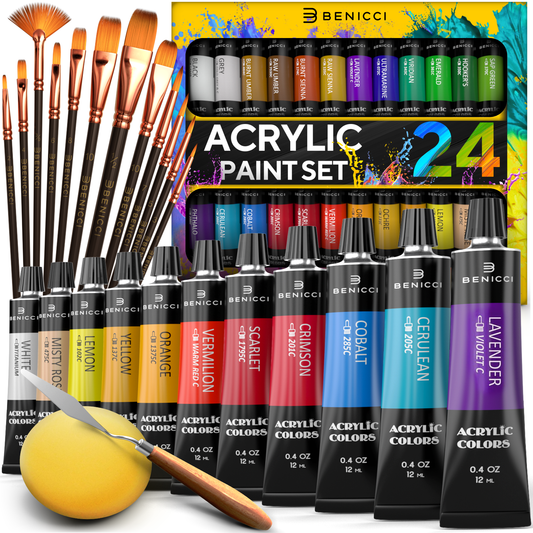
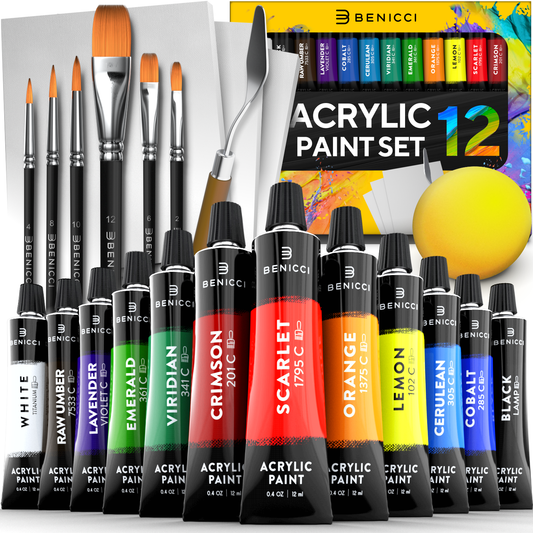
In the following tutorial, we'll guide you step by spectral step through the creation of a hauntingly beautiful Halloween pennant garland. This delightful DIY project is not only a fantastic way to bond with family and friends but also a perfect opportunity to flex your artistic muscles. With the vibrant and versatile Benicci Acrylic Paint Set of 12, you'll easily craft a garland that's as unique as it is eerie. Let's start!
🧑🎨 Level: All levels
🕑 Estimated time: 50 min
Materials:
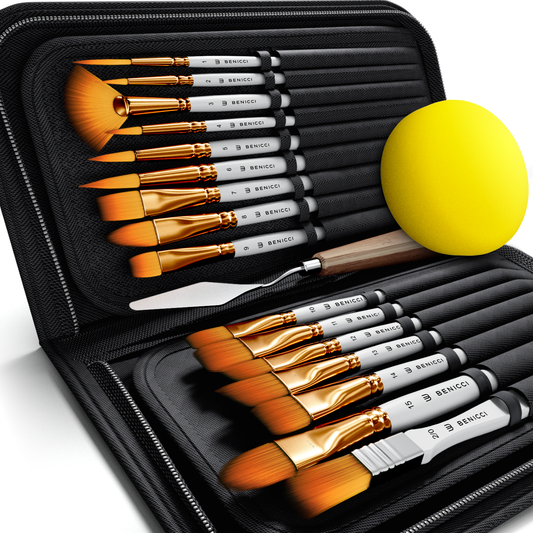
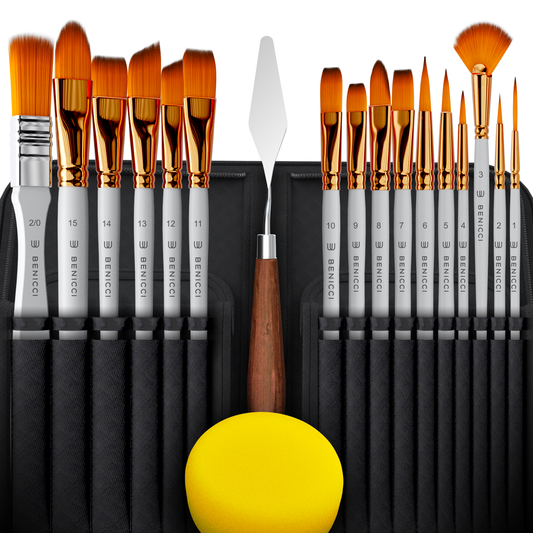
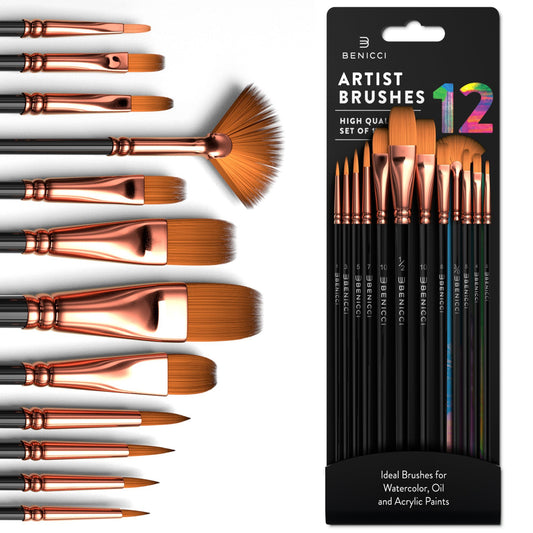
- Benicci Acrylic Paint Set of 12 Colors
- White, Orange, and Black Paper Sheets
- Scissors
- Ruler
- Pencil
- Craft Twine
- Glue
- Paintbrushes
Step 1: Prepare the Pennants

- Select an assortment of white, orange, and black paper sheets for a classic Halloween color theme.
- Use a ruler to measure and mark out six triangles per sheet, ensuring each has a central fold line.
- Carefully cut along the lines to form diamond shapes, then fold them in half to create your pennant bases.
Step 2: Crafting the Bat Wings

- On extra black paper, sketch the silhouette of bat wings.
- Cut out the wings and use a dab of glue to fix them to the inner crease of a black pennant, allowing them to extend outwards for a dramatic flair.
Step 3: Paint Your Fears Away
Before diving into painting, decide on the Halloween characters you wish to feature on your garland. Whether it’s classic icons like pumpkins and ghosts or something uniquely spooky, the choice is yours.

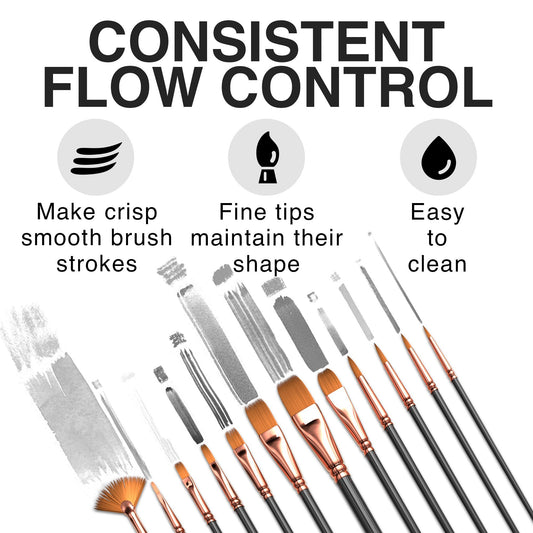
- For bat pennants, use a fine brush to paint sharp, contrasting eyes and add highlights to give life to the wings.
- On orange pennants, paint mischievous pumpkin faces. Use different pressures of your brush to create varied line thicknesses for a dynamic expression.
- Turn white pennants into ghoulish delights by painting mummy wrappings, a skeletal grin, or by adding a splash of green for a Frankenstein monster. Use the back end of the brush to dot on eyes or other intricate details.
- Allow creativity to flow, and don’t hesitate to mix colors directly on the paper to create shading and texture for each character.
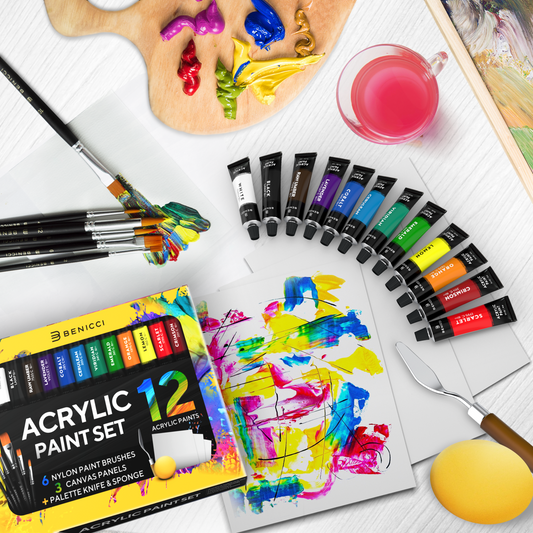
☝️Quick Tip: If you're working with kids, non-toxic and washable versions of the Benicci Acrylic Paint Set are ideal for a mess-free experience. This set also includes 6 nylon paint brushes that perfect for both painting and crafting.
Step 4: Assemble the Garland

- Measure your display area and cut a piece of craft twine to match the desired length of your garland, allowing extra for hanging.
- Open each pennant and place the twine along the inside fold.
- Apply a thin line of glue along the edge of one side of the pennant, press down to secure the twine, and fold the other side over to ensure the pennant is closed and the twine is encased at the top.
- Repeat with each pennant, spacing them evenly along the twine, and press firmly to adhere them together.
- Once the glue has dried, hang your garland proudly as a festive and spooky handmade decoration.
☝️Quick Tip: Don't rush the drying process—use a hairdryer on a low, cool setting if you're short on time.

Your personalized Halloween garland is now ready to cast a charming spell over your festivities! With the Benicci Acrylic Paint Set of 12, you have a cauldron full of colors to bring any spooky character to life. Remember, there's no limit to imagination—mix, match, and make this Halloween one to remember.
For step-by-step visuals and more crafting tricks, watch our short video tutorial and unleash your creative spirits! Happy Halloween!